Wednesday, 8 May 2013

texturing


 I wrote out a list to begin with of the different maps I wanted to put onto each of the models, these consisted of a diffuse (obviously), bump normal map, opacity and a gloss map to make the skin dewy, skin isn’t matte it has a shine to it that we get from the oils our skin produces.

The diffuse layer took a while but what easily the most straightforward, for the skin I used a flat layer of a peach tone and then used differing opacity levels of purples and greens to give the skin some tone, I used a light coral colour for the male lips and the females cheeks, I used a speckling brush I made to stop it looking so flat. I used mudbox to create the gloss and bump maps, originally I was going to sculpt the details and extract the normal maps, but mudbox had other ideas and told me time and time again I couldn’t sculpt onto the female model, so I used the paint tool to create bump maps and then turned them into normal maps and then extracted them from mudbox and added them to the model via the normal bump channel, the male model has two normal maps and the girl only has the one, both also have a gloss map just to dew out the skin and give the shoes and females lips a highlighting shine. I also glossed up points on the piercing.

The tattoos were added underneath the main flat skin texture and tones so they look like they are under the top layer of skin (which tattoos do) this also made them look likely had been there about a year, neither character is covered in tattoos as I thought it ruined the designs a bit so each only sport a few.

Some of the “bloopers” from this process were brilliant, in a funny way, displacement maps like to squash models.

The normal maps didn’t work at first as I had them as psd files and needed to be PNG files, that’s now fixed.


texturing Ruth


making Freddie's normal map


i played with rendering settings and chose to change it to mental ray, Ive never used mental ray before, and everytime i tried to fix it this happened, so i switched it back to normal render editor.


selection of some of the normal bump and gloss maps i made, some didn't work some did :)


adding the gloss to Freddie in mudbox made him look like a demon


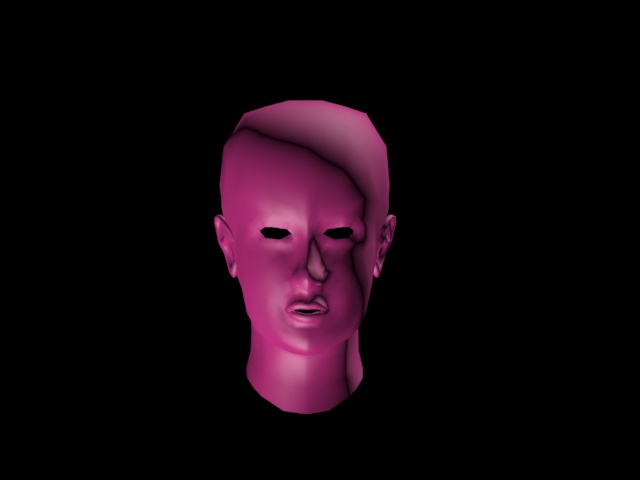
my 2 favourite bloopers from the process, i added an opacity map and Freddie's eyes decided to show up in the view like that but were okay when you rendered him out, i was watching a horror film at the time while working and it made me jump!

the second one is the normal maps refusing not to work on Ruth at all and making her entire body speckled like an orange!
 

Monday, 6 May 2013

re-unwrapping ruth for the 3rd time!

ive used the female charcter as a guinea pig for everything and due to this i have had to re unwrap her 3 times now, as i unwrapped each part that needed it because the polys were really distorted i took images so you can see the texture i started begin to go a little messed up on the new UVs

 New UVs


i used a coloured chart to test the uvs were in the right place

Go home mudbox your drunk

i unwrapped both of my characters ready to send them over to mudbox as stated in my project plan, i still at this point had not decided whether i was going to paint my characters in mudbox (it has a beautiful painting tool) and use it with photoshop to add some detailing and tattoos afterwards, or if i wanted to be adventurous and use the sculpting tool as well to attempt to add higher detail, well, mudbox decided that after seven attempts, the sculpting thing wasn't a good idea.

i can only describe it as mudbox being a little tipsy, because i have no idea about this first incident.

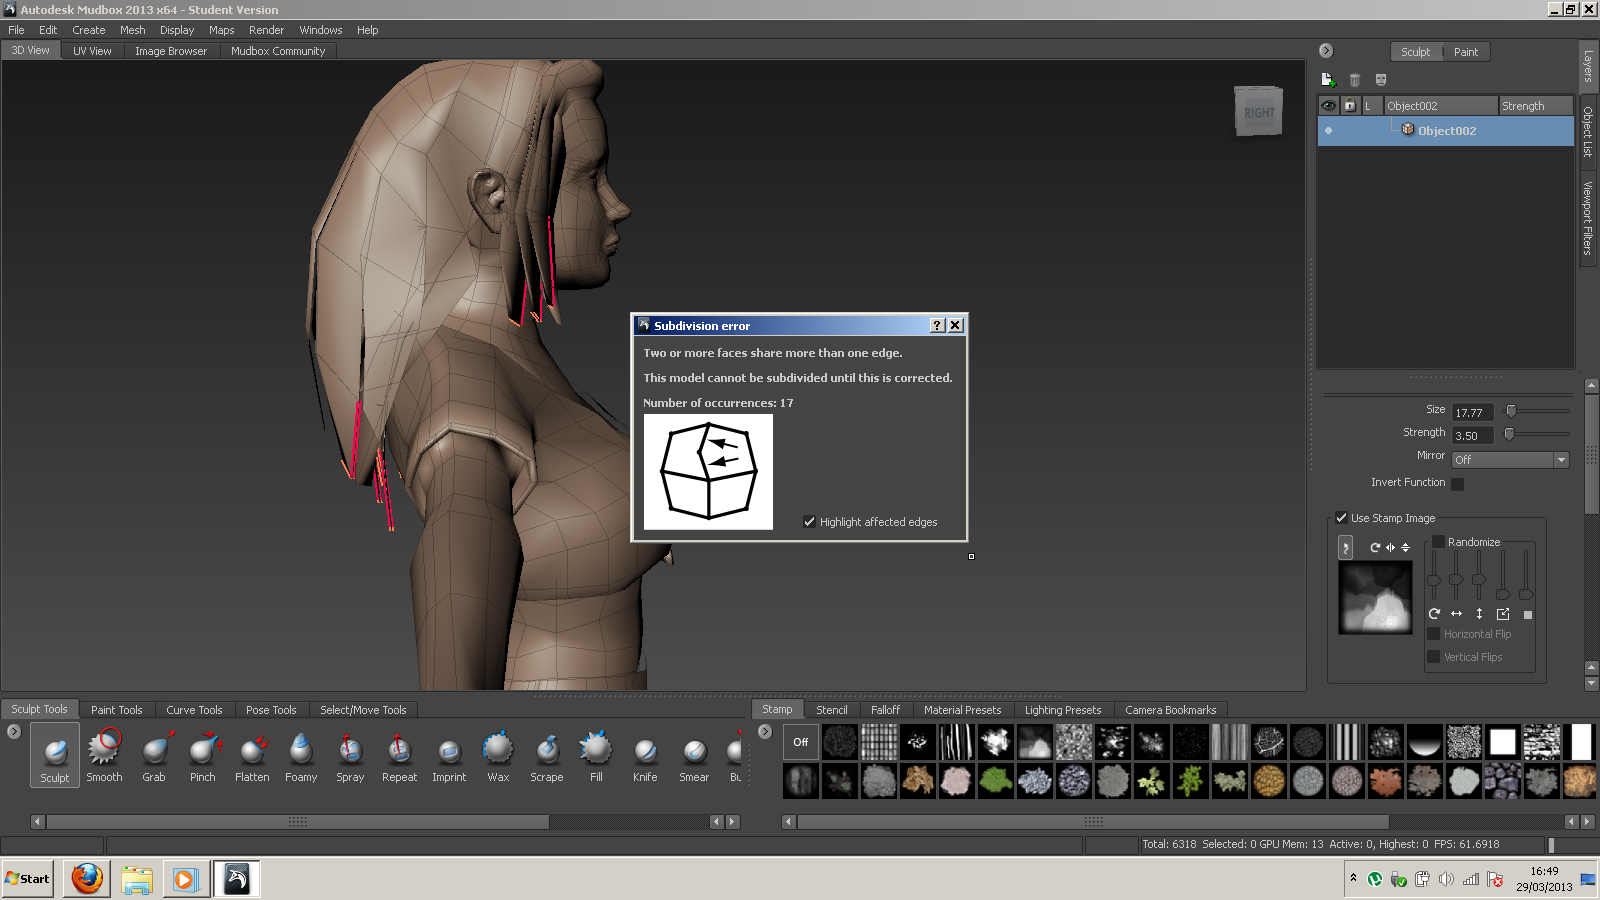
when i first added the male into mudbox it alerted me to a problem with the geometry, which it very helpfully highlighted for me, in this an edge had more than 2 connecting edges, which mudbox cannot subdivide by, if you aren't using subdivision this isn't a problem however, so if i was only painting none of these would matter.

it did this for both of the models and in both cases spoke about the characters hair, i then proceeded to fix the problem and re import, with ruth nothing seemed to fix it so i clicked to import regardless, to mess with her geometry anymore (which had nothing wrong with it in the first place) would of ruined the model in max which i wasn't willing to do after unwrapping her for the 3rd time and removing half of her hair poly's, the male however was fine after a quick poly deletion and 5 sided poly clear up!

i proceeded to sculpt lightly on a subdivision of 3 onto the male character, no problems, exported the normals as a PNG  and added them onto the model, when i rendered it to see how it looked i was greeted by this:

 WHAT IS THAT SERIOUSLY?!, Ive even included the normal map below to show how drunk autodesk decided to be tonight, i know its a bank holiday but come on! all i did was emboss some eyebrows and crease his clothing, which i will now be doing in 3dsmax.

i have used mudbox before in my self initiated last year and the programme was a breeze! so user friendly, but this year everything Ive tried to do hasn't worked, Ive had classmates who use mudbox as much as i do look over it and be as baffled as i am (on a sculpting front) if i was doing a realistic style i think this would stop me dead, but as i am doing a semi realistic style based off my illustration style i can work around this problem, i was going to use mudbox for skin tone anyway so its not like i am now not using the programme.

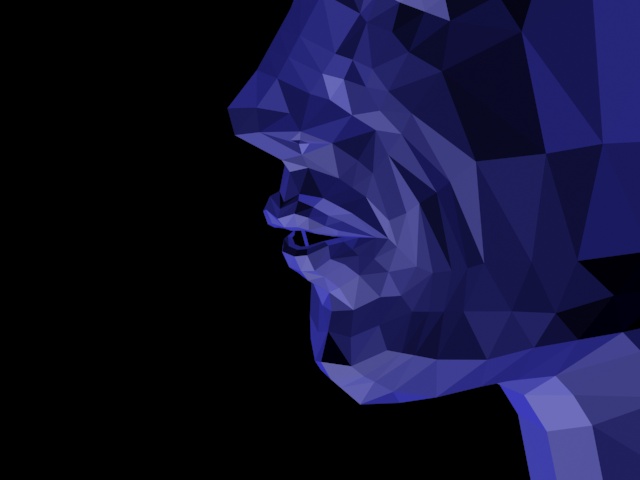
just for the sake of its funny, one attempt decided to turn my female character into a super saiyan from dragonball z:


excellent.

Tuesday, 23 April 2013

Concept art begins

needs a bit more detail but the concept art for the book has begun, its not going to be a thick one like the skyrim but it should have enough to give an idea of design

Freddie Build 2


This build went by extremly quickly and only took about a day to do after the head, i have made all the fiddely mistakes with and freddie was an absolute breeze, he just needs to be unwraped ran through mudboz (not allot for both of them more just to get some clothing normal maps) and then textured in my semi realistic style :).

Freddie build

instead of explaining this bit i decided to film building his head.

i gave him large gauge ears, they were fun to model!

here are some still renders of the head so far


Ruth modelling


 I started off by building the face and mirroring it for the purpose of this render, just to see if looked correct before adding the back of the skull, the face was a bit of a challenge as i had given ruth a defoned nose with defined cartillage making her mode slender and fuller lips, so i had to make her not look like a plastic surgery nut job!

the nose needed more loops to give it the definition it needed.


I then created the waist of the model (which will be on show as ruth is wearing a crop top) out of a cylinder, this part was box modeled, a similar application took place for the shorts legs and arms all made out of extrusing planes from cylinders in accordance with the turnaround, i did however slice the model in half and symetry it to keep the topology clean and supprisingly it reduced the tri count by about 200 so i must of been sloppy at some point. each diffrent coloured part is a diffrent object that will be attached before it is unwraped.


 i then created a cylinder and used it to create the shape of the skull, i removed any loops i didnt want to keep the tri count down and then attached it to the head of the model and did some tewaking, this is only to see the shape however, ruths hair will cover the back of the neck and skull.


some renders of the head after some tewaks were made, it was cut in half and mirrored again to keep it neat and tidy, the main problems were with the necks topology being too messy so i stitched the polys where the neck meeds the jaw to fix it. the bottom render is one with smoothing groups on the model, i like to work without them usually as it allows me to see the models topology more clearly.


 i enjoyed learning how to model hands, these renders dont do them justice i may re render them, but my tutor really puched me to get them right and it was deffinately worth it, i got such a buzz when i got the all clear on them and known id done them alright. i am going to add more loops to them so they animate properly.

at this point i bega modelling her bandanna whihc was a nightmare, and her hair which was a challenge as normals are one sided so it took a few trys to get it totally spot on.

after i finished the hair i added her eyes, they are half spheres to save on poly count.


full body render.

ALSO: mid modelling THIS HAPPEND!? ( i have a duel monitor setup and when i rendered it out it was fine, so i screenshot it, so please enjoy my how to train your dragon obsession)


i found out that it was because i had stacked edit polys, noob mistake, but being fair here, i hadnt been modelling that long before doing this jumping in at the deep ends always been a thing of mine.

BUT YEAH, THAT SERIOUSLY CONFUSED ME FOR ABOUT AN HOUR!